


Part 2: iMac SSD Upgrade – Cloning the Drive
This is Part 2 of the iMac SSD upgrade.
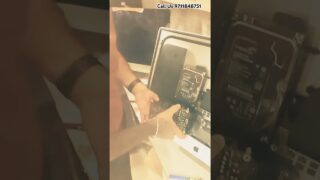
In Part 1, we opened the iMac and removed the original mechanical hard drive. Now it’s time to install the new solid-state drive (SSD) and transfer everything from the old drive.
Instead of reinstalling macOS and starting over, we cloned the original hard drive to the new SSD. Cloning copies the entire system exactly as it was — including the operating system, programs, files, and settings.
That way the customer gets all the speed benefits of the SSD while keeping their computer exactly the way they left it.
For this step we:
• Installed the new SSD
• Cloned the original hard drive to the new drive
• Reinstalled the drive into the iMac
• Reassembled the computer and reattached the display
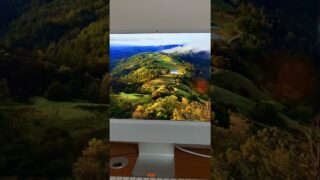
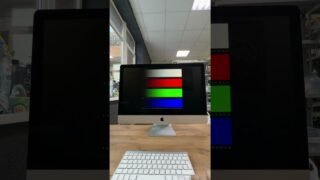
• Booted the system from the new SSD and verified everything was working properly
The difference between a mechanical hard drive and an SSD is huge. Boot times are dramatically faster, programs open almost instantly, and the whole system feels much more responsive.
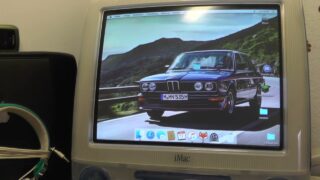
This iMac is now back up and running — with all the customer’s data exactly where it was before, just much faster.
📍 Error Computer Repair
League City, Texas
📞 (832) 377-6727
🌐 https://www.errorcomputerrepair.com
We repair:
• iMacs and MacBooks
• Laptops and desktops
• SSD upgrades
• Data recovery
• Hardware repairs
#ComputerRepair
#iMac
#SSDUpgrade
#MacRepair
#TechRepair